How To Add Apache Tomcat Server in NetBeans 10
In this article, we will go through the process to setup Apache Tomcat in NetBeans IDE 10. From menu Tools -> Servers then click on the Add server button, following message displayed:
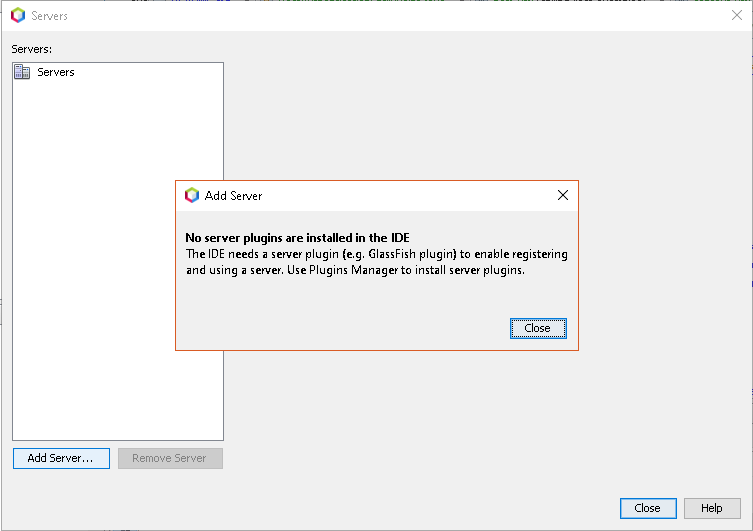
No Server Plugin are installed in the IDE
When trying to install plugins from the Tools -> Plugins, none of the plugins is suitable. This is because NetBeans, since version 9 does not officially support Java EE or web application development. Without additional plugins you can't create a web project through the Project Wizard, or add a Tomcat (or other server).
The reason is; NetBeans has been migrated from Oracle to Apache, and the initial focus is to provide a stable Java SE environment, including support for JDK releases (until now JDK 11) in NetBeans.
We can add plugins needed for web and Java EE development to NetBeans 10. This steps (methods) maybe not feasible for Netbeans 9, but the idea still same. Use it at your own risk!
Install Java EE Base Plugin
First, you need to activate one Update Centers; from Tools > Plugins > Settings tab > select "Netbeans 8.2 Plugin Portal", and Add
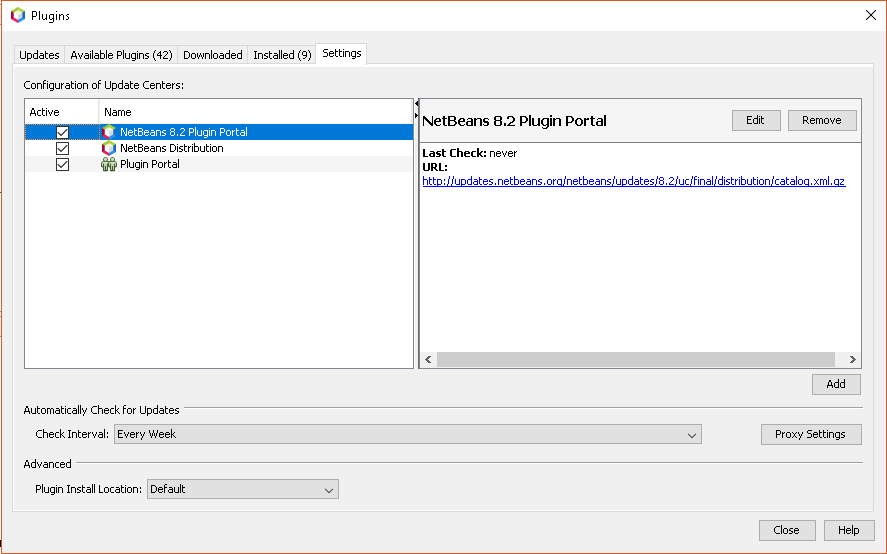
add NetBeans 8.2 Plugin Portal
Then go to Available Plugins tab (Tools > Plugins > Available Plugins), select "Java EE Base", then click "Install"
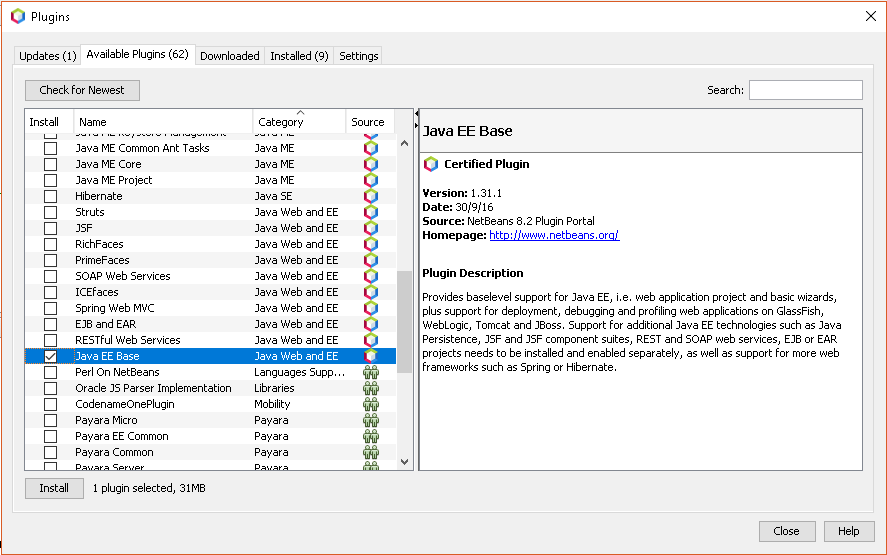
add Java EE Base
Because of dependency, several other plugins also will be installed, click "Next"
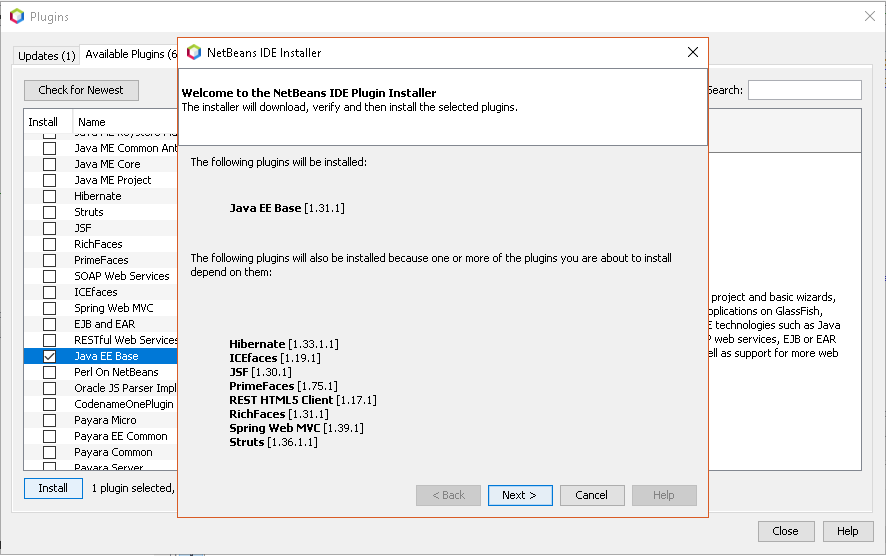
Java EE Base Dependencies will be installed
After that, you need to accept License Agreement. Select "I accept the terms in all of the license agreements", then click "Install". After that the installer will prompt you:
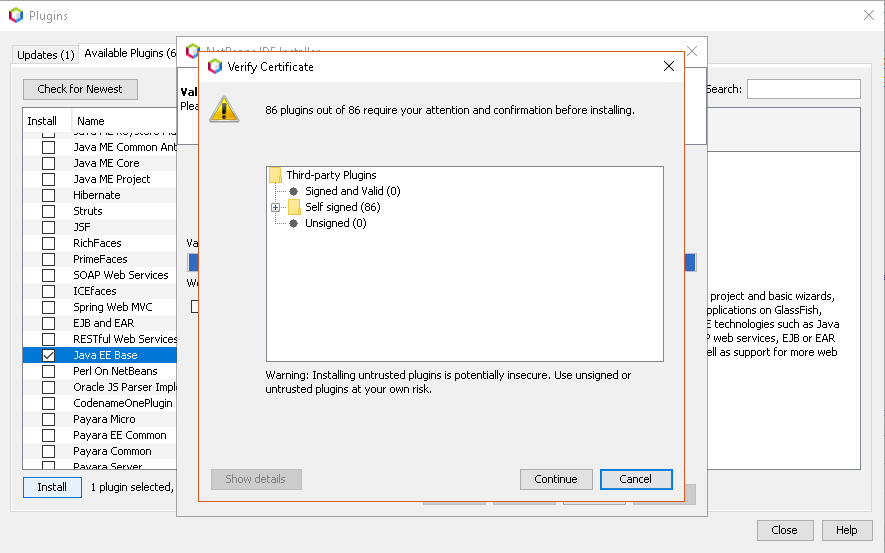
Verify Certificate
Just continue. Then after process installation, you need to restart your NetBeans IDE. After restart, you may encounter this warning:
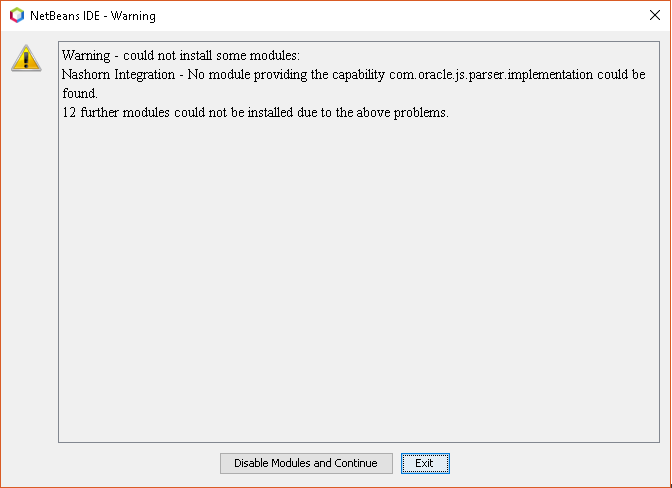
Warning - could not install some modules
Just "Disable Modules and Continue"
Setup Tomcat
To setup Tomcat, we back to menu menu Tools -> Servers then click on the "Add Server" button. The list of server will be available:
- Apache Tomcat or TomEE
- GlassFish Server
- JBoss Application Server
- Oracle WebLogic Server
- WildFly Application Server
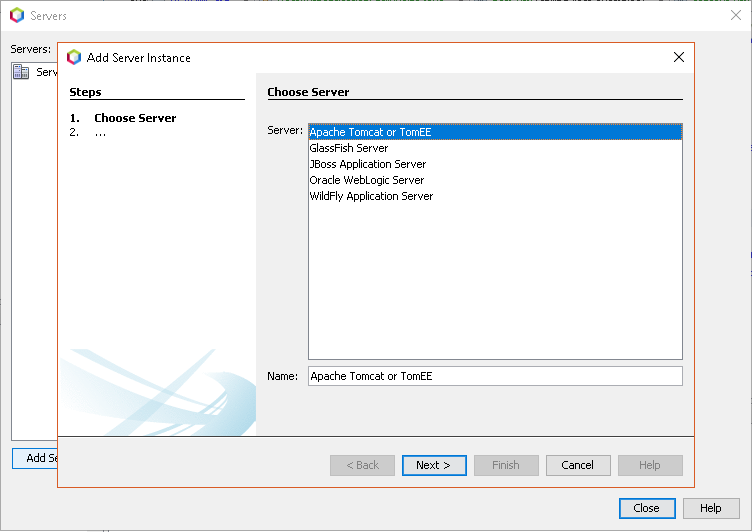
Choose Server - Apache Tomcat or TomEE
In this case, we choose "Apache Tomcat or TomEE". Setup and fill in the information:
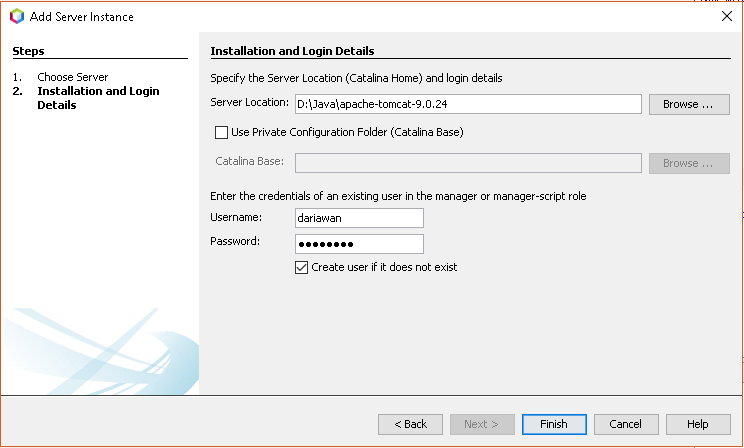
Add Server Instance - Setup Tomcat
After click Finish, our Tomcat environment are ready:
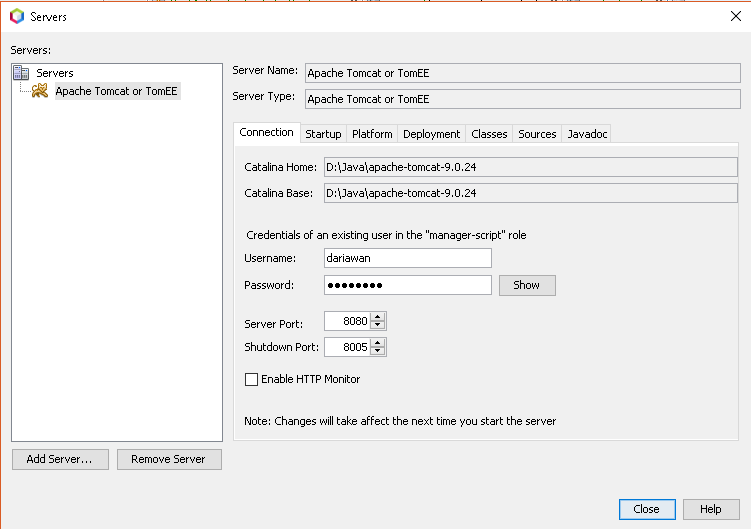
Servers - Tomcat Setup
